DHCP Installation and Configration
INSTALLATION OF DHCP SERVER IN WINDOWS 2008 SERVER
Steps of DHCP installation
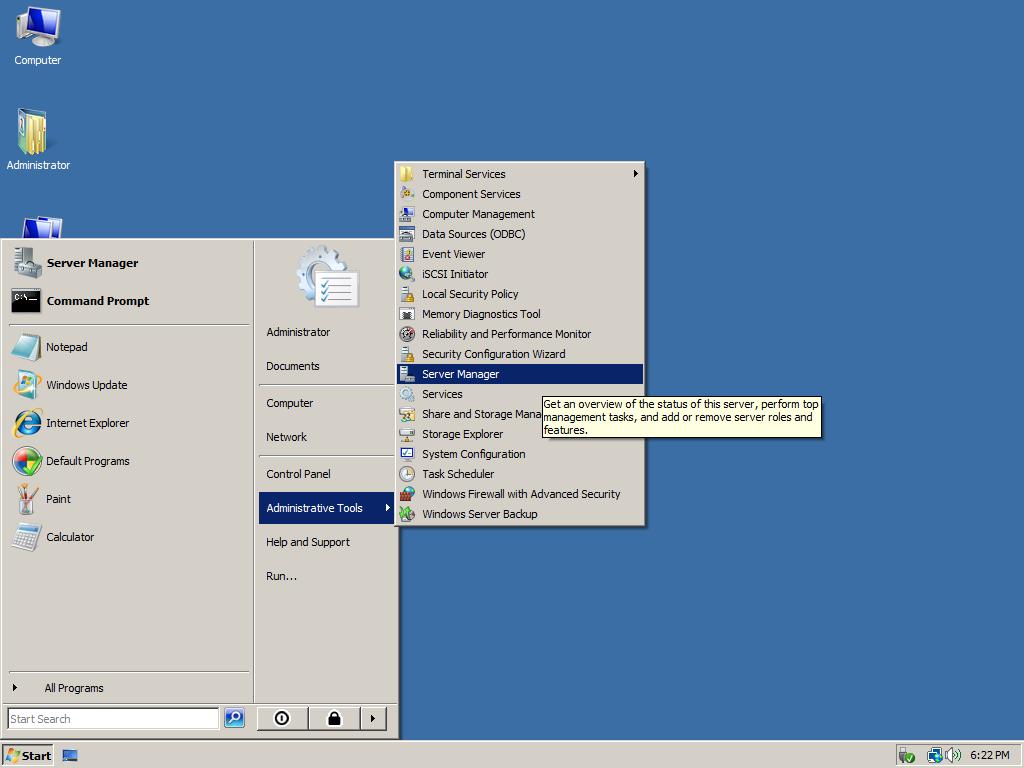
Right-click on Roles and select Add Roles from the context menu.

Now select server roles from the sever roles in add roles wizard and click next


Now give the scope i.e, is the range of IP addresses for network and click next

Disable DHCPv6 stateless mode and click next

click next to skip IPv6 setting.
Now provide DHCP authenctication and click next to install DHCP server
After complition of installation close the wizard.
DHCP Configuration in client machine
start-----> controlpannel------> networkconnection----------> Local area network connection
Open Properties of Local Area Connection

Open Properties of 'Internet Protocol Version 4TCP/IPv4) andselect obtain an IP address automatically and click ok and save the settings

Now DORA process will be obtained the IP address

To check the IP address that assigned to your system
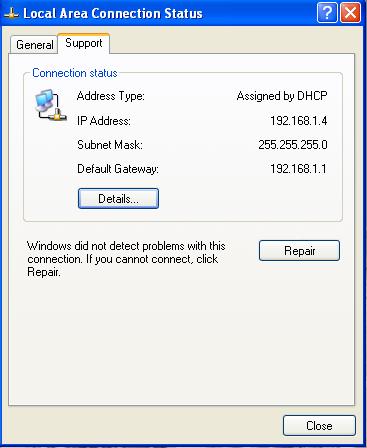
Right click on local area network connection and then click status.

Then an local area network status window will be opened .if we click support we can view the IP address details assigned by DHCP server
|
Stay Connected With Free Updates! Subscribe via Email
|
Follow me! 


|
Leave Your Comment Below If You Like This Post
0 comments: